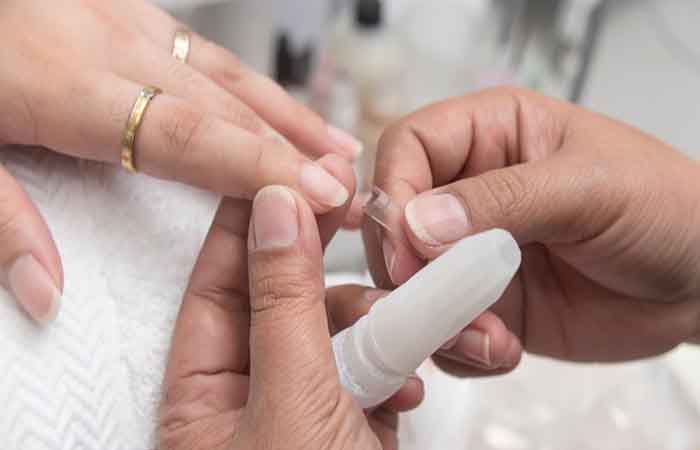
Before you start applying polygel, make sure you have all the necessary equipment on hand. You’ll see, with the right tools, it’s child’s play!
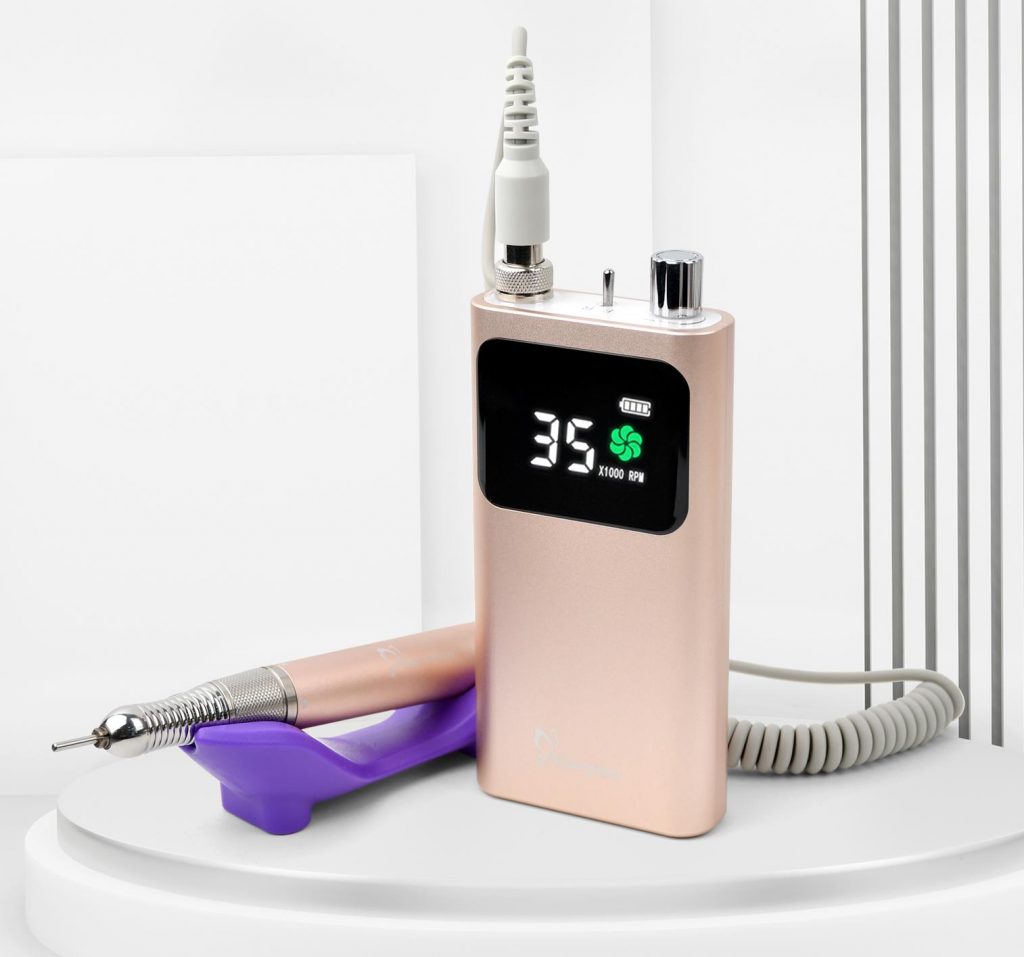
Nail file: To shape your nails and prepare the surface before applying the polygel. If you are skilled, an electric nail drill is also a good choice.
Buffer: Essential for mattifying the surface of your nails and allowing the polygel to adhere properly.
Slip Solution: This liquid is essential for shaping the polygel without it sticking to the brush. It’s your best ally for easy application!
Brush and Spatula: The perfect combo for applying and working the polygel. The spatula is used to deposit the product, and the brush is used to shape and spread it cleanly.
Molds or Dual Forms: If you want long and uniform nails, molds are the ideal solution. They allow you to give your nails the perfect shape in just a few minutes.
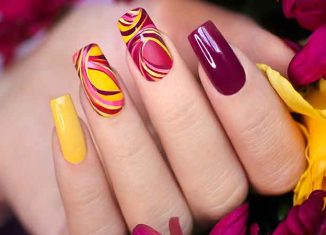
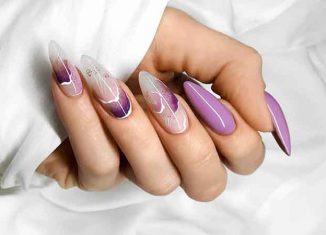
Polygel: Choose the color of polygel you want to apply. There are several shades, from transparent to more opaque colors.
Top Coat and Base Coat: The base coat ensures better adhesion of the polygel, while the top coat adds shine and protects your nails.
UV/LED lamp: Essential for hardening the polygel. Once you have shaped the nail, simply pass it under the lamp to dry it quickly.
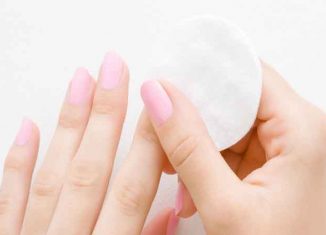
Nail polish remover and cotton pads: To clean and remove residue after application.
Cuticle oil: A final touch to nourish and moisturize your cuticles after the manicure. Your nails will thank you!
If you don’t have manicure supplies, check out a nail supply store. They are super practical with everything you need in them!
