For all manicure enthusiasts, gel nails are a very popular trend. Unlike nail polish that comes off easily, removing a gel nail can be more complex. In this article, we give you our advice on how to easily peel off and remove the gel while taking care of your skin.
Preparation for removing gel nails
Necessary equipment
To remove your gel nails from home, at home with products that are generally easy to find. You must have a list of necessary and professional quality equipment. So here is the list of tools and products:
- Acetone remover,
- Cotton pads,
- Aluminum foil,
- Manicure kit (including nail file, nail buffer and wooden stick),
- Cuticle oil,
- Bowl,
- Soap and hand cream (with water)
Method 1 to remove a gel nail: Removal with acetone
Filing the top layer
The first step to remove your gel is to file your nails. Unlike the primary use of the nail file which consists of rubbing it on the edge of your nails, you will use it on the surface of your nails. Thus, you will use the file to remove the first layers of shine from the gel.
Soaking the nails
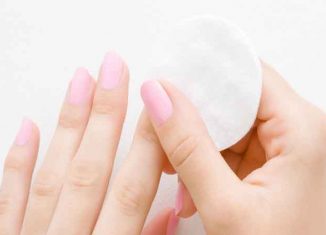
The second step, soak your cotton pads with acetone nail polish remover. Place them on your nails by adding aluminum foil to completely wrap your nails. Let your papillotes sit for about 10 to 20 minutes. Once these minutes have passed, remove them by pressing the cotton on your nail.
Removing the softened gel
The acetone will have removed a good part of the gel, but the remaining part will be slightly softened. To remove it, use a wooden stick to gently scrape off the softened gel.
Care after removal
To take care of your nails after removal, file and polish your nails. Filing and polishing will remove the rest of the gel and remove the top layer of your nails that may have been damaged by the gel. Then, you can moisturize your nails with oil or a moisturizer for hands and nails.
Method 2 to remove a gel nail: Removal with an electric nail file
Using the electric nail file
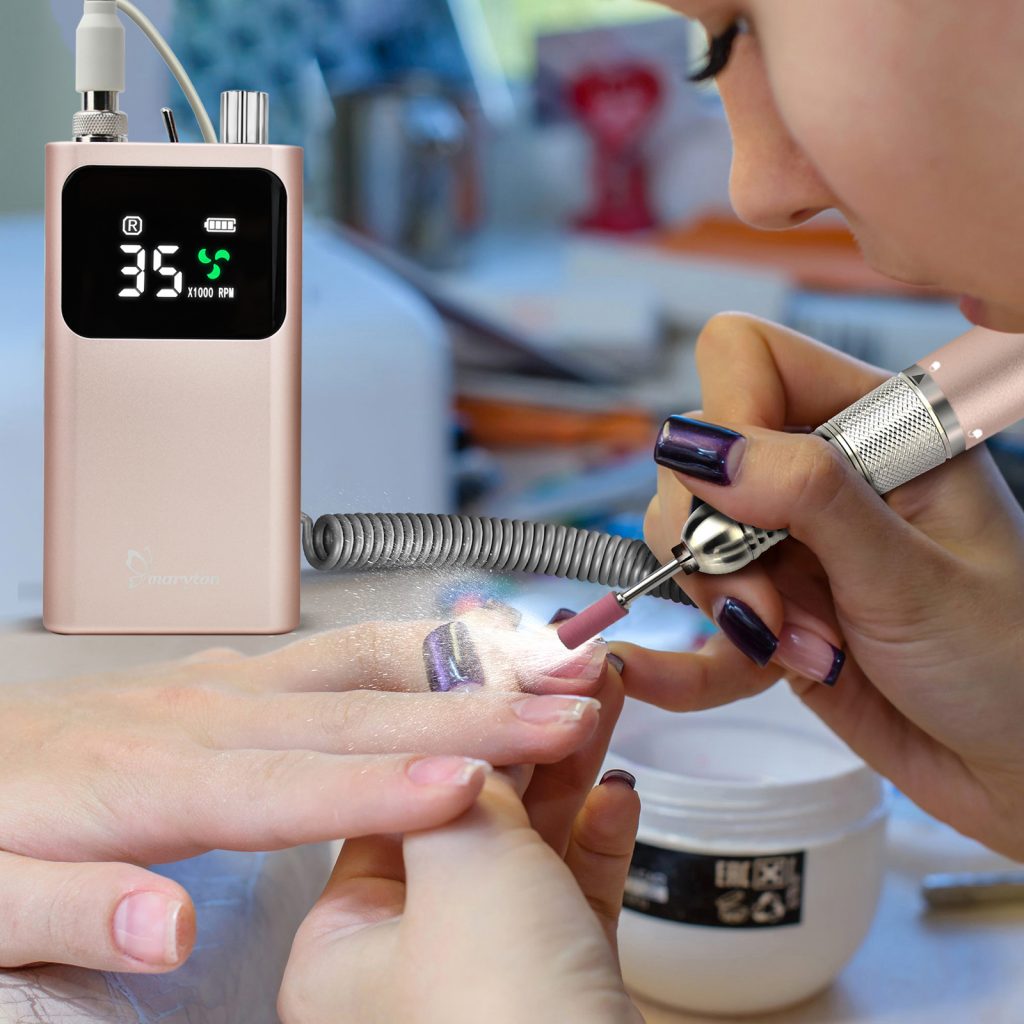
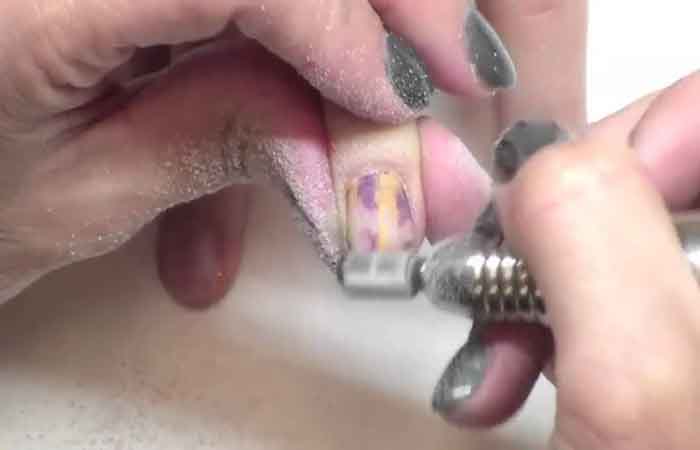
To remove your gel nails, start by putting your electric nail file on low speed. This will allow you to familiarize yourself with the tool, but also to remove the gel gently. It is important to have light pressure in a circular motion so as not to damage the nail and remove the gel in stages.
If you stay too long on the same surface of the nail, you risk overheating and damaging it. You can also change the tip during your use if you feel the need. For example, use a cylindrical tip to remove the majority of the gel, a conical tip for the edges and cuticles.
Final polishing
The buffer or polisher allows you to polish and smooth the surface of your nails. For this, there are several ranges of buffers with more or less abrasive grains. Just like when using a nail file, it is important to make movements in one direction and avoid back and forth movements that can damage your nails.
Post-removal care
Once the removal is finished, you can apply a treatment to strengthen your nails. Also remember to moisturize and massage your cuticles. To take care of your nails, you can mix a few drops of sweet almond oil in a bowl and let your nails soak. massage to let it absorb. To remove the feeling of oily skin on your hands, clean the excess with clear water.
Read also: Making a Russian manicure step by step
