Coming directly from Russia, as the name suggests, the Russian manicure is a treatment designed to beautify the hands and nails. However, it is quite difficult to master. In this article, nail supplies expert Maryton will show you the steps for making Russian manicure.
The steps of a Russian manicure begin like all application techniques:
Step 1: the nails
Clean the nail and file to the chosen shape (round, square, etc.).
Step 2: the cuticles
Nourish the cuticles with a finger bath to care for them in depth.
Before continuing, here are the instruments necessary for the practice:
- a cuticle pusher
- a pair of scissors
- An electric nail drill and several bits
Note that here, these are the steps when you do it alone. Do not try to use the sander for all the application processes. Even less if you are a beginner!
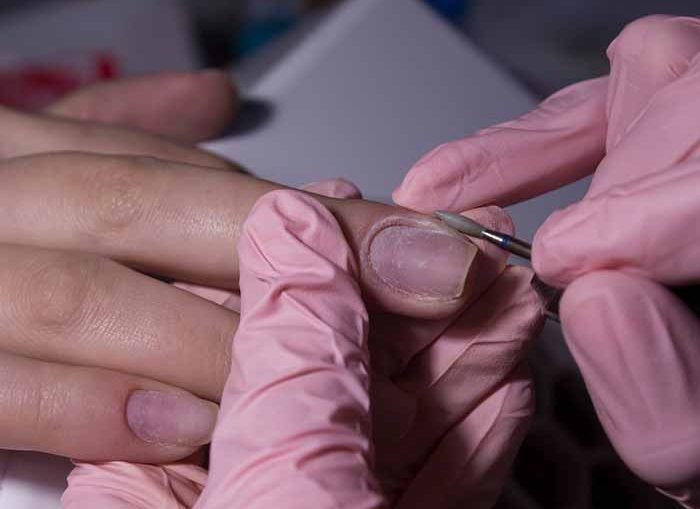
Step 3: the pusher
Using the pusher, gently push back the cuticles without forcing.
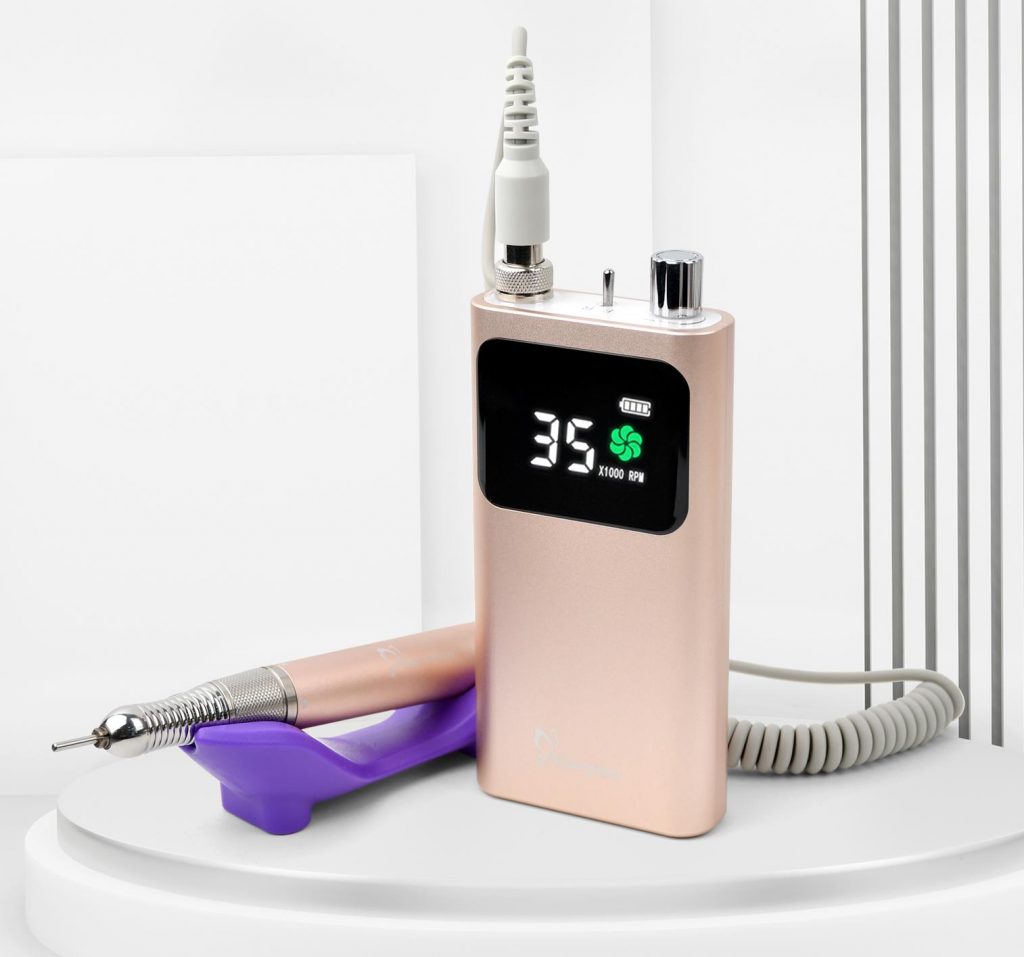
Step 4: the nail drills
Using the nail drill to remove the old varnish. Then with a classic file, sand the edge of the nail. Afterwards, replace the drill bit of your machine of 2.3 millimeters and a rotary speed of 17000 rotations per minute.
Step 5: scissors
It is important to remember that this technique must be carried out by a professional. The scissors allow you to cut the cuticles to the nearest millimeter.
Step 6: the dehydrator
For semi-permanent varnish, it is necessary to apply a primer. In this technique, opt for a nail preparer (dehydrator or degreaser). And apply it to the tips of the nails to protect them.
Read also: How to prevent ingrown toenails?


