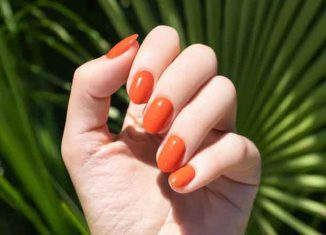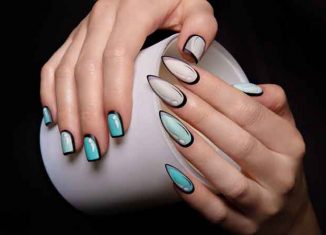
If patterns always remain trendy for clothing, they are also trendy today for nails. We are finding more and more leopard Nail Art with varied colors and effects. Today, the nail supply expert Maryton will explain the everything you need to know about Leopard Nail Art.
Nail preparation and choice of varnish colors
Start by choosing the colors for your leopard style manicure: 3 colors of varnish, the first of which will completely cover the nails, the second to outline the spots and a liner to outline the contours. In particular, you can opt for a “golden, brown-beige and black” combination. Then begin preparing the nails with a manicure kit and applying a thin protective base coat.
Applying colors and creating the leopard pattern
After letting the base dry, apply the first chosen color in a thin layer and let it dry quickly.
Now it’s time to create the leopard spots and to do this, we use a small sheet of paper on which we pour a large drop of the second color.
With a very clean brush, take a small quantity of varnish which you will point on either side of the nails with different sizes for a better effect.
For the last step, we use the liner varnish specially designed for Nail Art which will be used to outline the spots. We finish the manicure with a top coat for the shiny effect and protection.
Read also: Trendy Manicures For A Wedding In 2023


