Are you tired of nail polish that peels off after 2 days? Why not switch to semi-permanent manicure? In this blog, your expert nail supplier Maryton will give you ideas.
Schedule time
Getting a semi-permanent manicure yourself is possible and easy! All you need is the right equipment and the right technique. For a semi-permanent manicure that lasts over time, there are a few rules to follow beforehand. The more precise you are, the longer your manicure will last.
Prepare your equipment
Here is a small list of useful things to be able to make your semi-permanent at home:
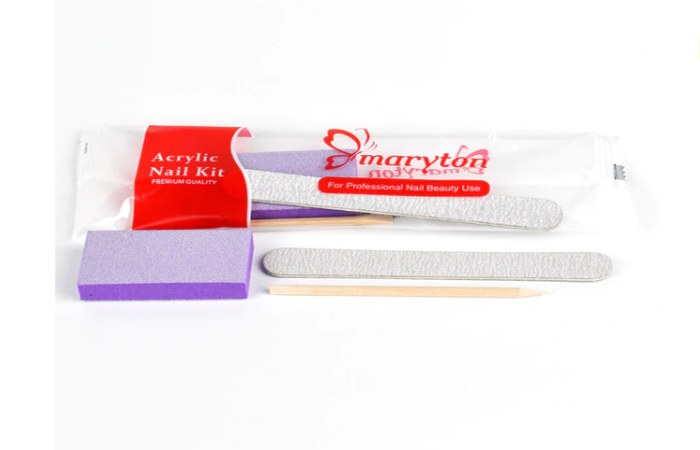
- A manicure kit (cuticle pusher, nail file, polisher)
- The semi-permanent varnish of your choice
- A base
- A topcoat
- A cleaner and a primer
Choose a practical semi-permanent machine
To perform your home manicure, the ideal is to have a UV/LED machine. This type of semi-permanent machine catalyzes semi-permanent varnish but also UV gels. It is therefore very practical and will allow you to use different kinds of techniques because it combines UV and LED light.
Prepare your nails
- File your nails carefully to give them the desired shape.
- In order to optimize the application of your varnish and to extend its duration over time, soak your nails in hot water.
- Push back the cuticles.
- Polish your nails.
Let’s go for the pose!
- Apply a primer to degrease the nail. This will dehydrate the nail and allow the varnish to adhere better.
- Place the base on your nails to ensure long-lasting hold, then run your hand under the UV/LED lamp for 1 to 2 minutes.
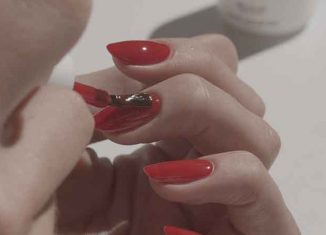
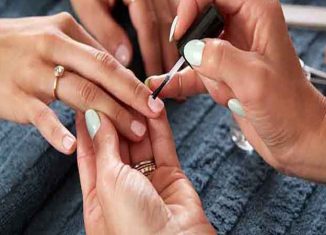
- Apply the semi-permanent varnish in a thin layer and place your hand under the device.
- Finish by depositing top coat on your nails to give a shiny effect, improve the hold of the varnish and catalyze again.
Read also: Method for removing a gel nail


